The magic of the holiday season often finds its most charming expression in the twinkling lights and personalized touches that adorn our Christmas trees. Among the myriad of decorations, clear craft Christmas ornaments offer a unique canvas for creativity, allowing us to infuse our holiday spirit into every shimmering sphere. Unlike their opaque counterparts, clear ornaments invite light to dance through them, making internal decorations truly pop. Whether you’re a seasoned crafter or a holiday novice, this guide will equip you with the top tips and tricks to transform simple clear ornaments into dazzling keepsakes.
The Allure of the Clear Ornament: A Blank Canvas for Brilliance

Clear craft ornaments, typically made from acrylic or glass, have surged in popularity for their versatility and visual impact. Their transparency allows for a dazzling array of decorating techniques that wouldn’t be possible with solid ornaments. From creating miniature snow globes to showcasing delicate paper crafts, the possibilities are virtually endless. The inherent ability of clear ornaments to refract light also adds an extra layer of sparkle, making them stand out amidst traditional decorations. Imagine a collection of clear ornaments filled with glittering faux snow, each catching the glow of your Christmas tree lights – it’s a truly enchanting sight.
According to a recent survey by the National Retail Federation, personalized gifts and DIY crafts continue to be a significant trend during the holiday season. Clear ornaments fit perfectly into this trend, offering a cost-effective and highly customizable way to create meaningful gifts and tree décor. The ability to tailor each ornament to a specific recipient or theme makes them incredibly special. For instance, a grandparent might receive an ornament filled with tiny photos of their grandchildren, while a friend who loves to travel could have an ornament depicting a miniature landmark.
Getting Started: Essential Supplies and Preparation

Before diving into the decorating, it’s crucial to gather your supplies and prepare your workspace. This will ensure a smooth and enjoyable crafting experience. Remember, a little preparation goes a long way in achieving professional-looking results.
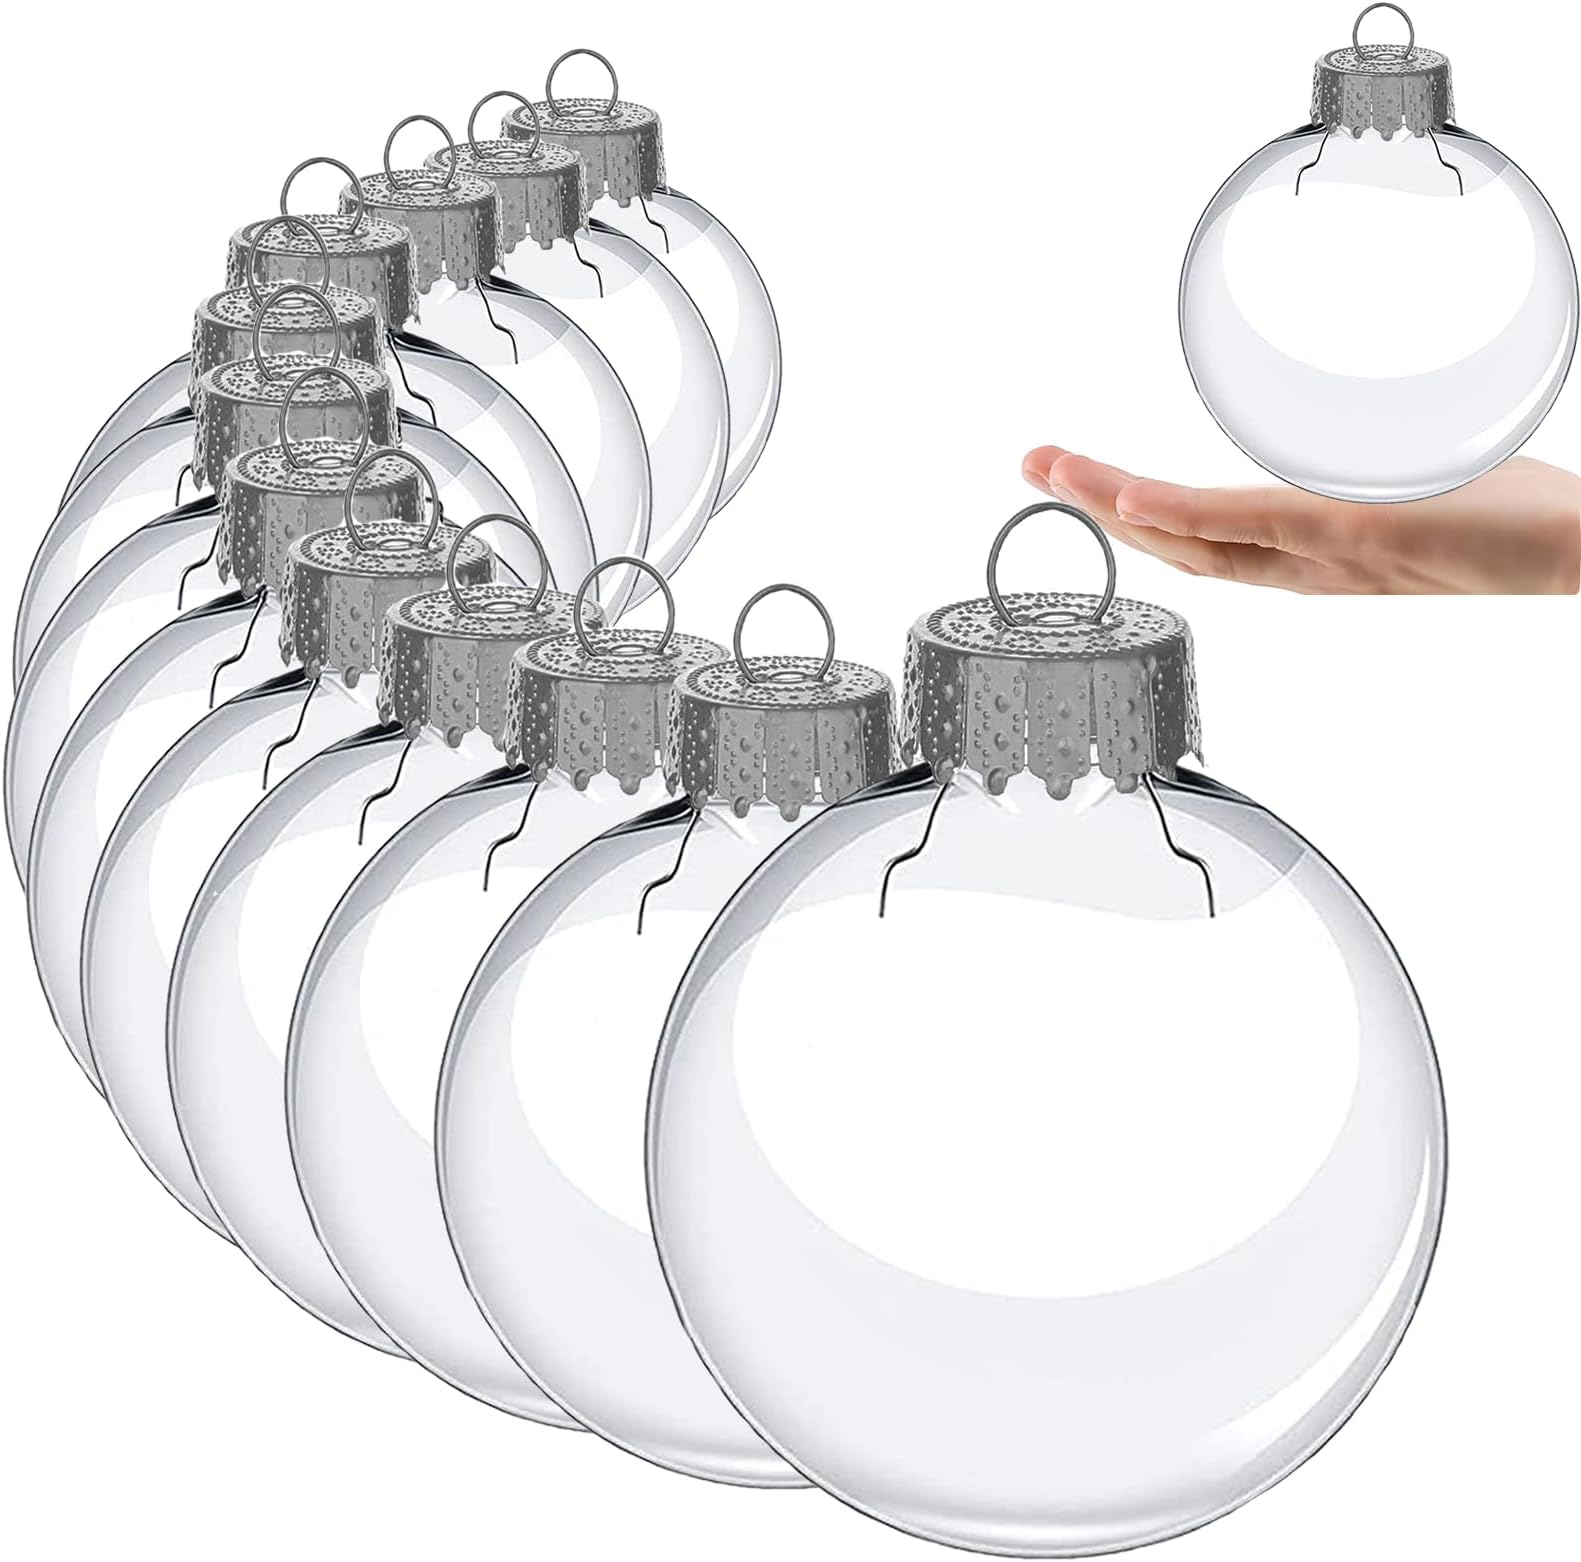
- Clear Ornaments: Choose from various shapes and sizes – spheres, teardrops, icicles, and even flat discs. Acrylic is generally more durable and beginner-friendly, while glass offers a more delicate and reflective finish.
- Decorating Mediums: This is where the fun begins! Consider:
- Paints: Acrylic paints, glass paints, and permanent markers are excellent for external decoration.
- Fillers: Faux snow, glitter, beads, small pompoms, sequins, small dried flowers, tiny toys, or even miniature photos.
- Adhesives: Craft glue, Mod Podge, hot glue (use sparingly on thin acrylic).
- Tools: Funnels, skewers, tweezers, paintbrushes, small scoops, a turntable or Lazy Susan for easy rotation.
- Protective Gear: Newspaper or a drop cloth to protect your work surface, and potentially a mask if working with sprays or fine glitter.
- Cleaning Supplies: Rubbing alcohol or glass cleaner for wiping down ornaments before decorating.
Tip: Always clean your clear ornaments thoroughly before decorating. Fingerprints or dust can detract from the final appearance and affect adhesion. A gentle wipe with rubbing alcohol is usually sufficient.
Technique Showcase: Breathing Life into Your Clear Ornaments
The beauty of clear ornaments lies in their transparency, allowing for a multitude of creative approaches. Let’s explore some of the most popular and effective techniques:
1. The Snow Globe Effect: Creating Miniature Winter Wonders

This is arguably one of the most beloved ways to decorate clear ornaments. Recreating a tiny winter scene within a sphere is both charming and relatively simple.
- Materials: Clear ornament, faux snow (fine and coarse for texture), small figurines (tiny trees, animals, Santa), glitter, strong craft glue.
- Process:
- Carefully remove the cap from the ornament.
- Add a base layer of faux snow to the bottom of the ornament using a funnel or a small scoop.
- Strategically place your miniature figurines within the snow. A dab of craft glue might be necessary to secure them.
- Add more faux snow around the figurines, creating a natural landscape.
- Sprinkle in glitter for extra sparkle.
- Gently reattach the cap, ensuring it’s secure.
- Give it a gentle shake to distribute the snow and glitter.
Case Study: The “Grandkid’s First Christmas” Ornament. A grandmother decided to create personalized ornaments for each of her grandchildren. For her youngest grandson’s first Christmas, she filled a clear ornament with a tiny “baby’s first Christmas” figurine, a sprinkle of silver glitter, and a tiny artificial pine sprig. The result was a treasured keepsake that captured a precious milestone.
2. Glitter Bomb: Dazzling with Sparkle and Shine
Glitter is synonymous with the holidays, and clear ornaments are the perfect vessel to showcase its full glory. This technique can be as simple or as elaborate as you desire.
- Materials: Clear ornament, various colors and sizes of glitter, Mod Podge or craft glue, a funnel.
- Process (Interior Glitter):
- Remove the cap.
- Pour a generous amount of glitter into the ornament using a funnel.
- Add a few drops of Mod Podge or thinned craft glue.
- Seal the top and swirl the ornament around to coat the inside evenly. This will create a frosted effect.
- If you want more defined glitter clusters, add glitter *after* adding the glue.
- Allow to dry completely before reattaching the cap.
- Process (Exterior Glitter):
- Apply a thin, even layer of Mod Podge or craft glue to the outside of the ornament using a paintbrush.
- Roll the glued ornament in a tray filled with glitter.
- Allow to dry completely. You can add a second coat of glue and glitter for more coverage.
- Seal with a clear sealant spray if desired.
Statistic: According to a report on craft industry trends, glitter remains a top-selling craft supply, with demand spiking significantly in the months leading up to Christmas. This underscores its enduring appeal for holiday decorating.
3. Painted Perfection: Bringing Art to Your Tree
For those with a creative flair, painting the exterior of clear ornaments offers a vast canvas for intricate designs and personalized messages.
- Materials: Clear ornament, acrylic paints or glass paints, fine-tipped paintbrushes, permanent markers, stencil (optional).
- Process:
- Ensure the ornament is clean and dry.
- Use a turntable or Lazy Susan to easily rotate the ornament as you paint.
- Start with simple designs like dots, stripes, or swirls.
- For more intricate designs, use stencils or freehand with fine brushes.
- Permanent markers are great for adding lettering, outlines, or fine details.
- Allow each layer of paint to dry completely before adding the next.
- Once dry, you can add a clear sealant for durability.
Example: A family tradition of hand-painting a new ornament each year has become a cherished part of their Christmas. Each ornament represents a significant event or memory from that year, creating a unique visual timeline of their family’s journey.
4. The Photo Frame Ornament: Cherished Memories in Miniature

This sentimental technique allows you to display your favorite photos in a festive and unique way. It’s a particularly popular choice for creating gifts for loved ones.
- Materials: Clear ornament, printed photos (cut to size), scissors, tweezers, a small amount of ribbon or twine for hanging.
- Process:
- Print your photos on thin photo paper for easier insertion.
- Carefully cut the photos to fit inside the ornament. You might need to experiment with rolling them or folding them slightly to get them through the opening.
- Using tweezers or a skewer, carefully insert the photos into the ornament. Arrange them to your liking.
- You can also add a sprinkle of glitter or tiny faux snow for added effect.
- Secure the cap and attach a ribbon for hanging.
Tip: For a more professional look, consider using a photo editing program to adjust the size and brightness of your photos before printing. Some craft stores even offer specialized photo paper that can be cut into strips for easier insertion.
5. Beaded Beauty: Elegant and Textured Ornaments
Beads add a touch of elegance and texture to clear ornaments, creating visually appealing and sophisticated decorations.
- Materials: Clear ornament, various sizes and colors of beads (seed beads, pony beads, bugle beads), a funnel, a small amount of strong craft glue (optional, for securing beads on the outside).
- Process (Interior Beads):
- Remove the cap.
- Using a funnel, pour a desired mix of beads into the ornament.
- You can also add glitter or faux snow along with the beads.
- Gently swirl the ornament to arrange the beads.
- Reattach the cap.
- Process (Exterior Beads):
- Apply a thin layer of craft glue to small sections of the ornament at a time.
- Carefully press beads onto the glued areas, creating patterns or random designs.
- Allow each section to dry before proceeding to avoid dislodging the beads.
- This technique can be time-consuming but yields stunning results.
Advanced Tips for Professional Polish

Once you’ve mastered the basic techniques, consider these advanced tips to elevate your clear ornament creations:
- Layering is Key: Don’t be afraid to combine techniques. For example, a painted exterior with a glitter-filled interior creates a multi-dimensional effect.
- Embrace the Unexpected: Think outside the box for fillers. Tiny dried flowers, small charms, or even miniature pieces of fabric can add unique character.
- Consider the Hanging Mechanism: Ensure the ribbon or twine you use complements the ornament’s design and is strong enough to support its weight.
- Test Your Materials: If using specialty paints or glues, test them on a scrap piece of acrylic or glass before applying them to your actual ornaments to ensure they adhere well and dry as expected.
- Create Themed Collections: Design a set of ornaments around a specific theme, such as “Winter Woodland,” “Sparkling Snowflakes,” or “Vintage Christmas,” for a cohesive look on your tree.
Inspiration from a Case Study: A local craft fair featured a vendor selling a collection of “memory ornaments.” Each ornament contained tiny mementos from significant life events – a miniature concert ticket for a music lover, a dried flower from a wedding bouquet, or a tiny seashell from a memorable beach vacation. These highly personalized ornaments were a massive hit, demonstrating the emotional value of well-crafted, meaningful decorations.
Decking the Halls with Dazzling DIY
Decorating clear craft Christmas ornaments is more than just a holiday activity; it’s an opportunity to express your creativity, create cherished memories, and infuse your home with personal warmth and sparkle. From the simplicity of a glitter bomb to the artistry of painted designs, the techniques discussed offer a pathway to crafting unique and beautiful decorations. Remember to prepare your materials, experiment with different approaches, and most importantly, have fun! These little spheres of joy will undoubtedly become treasured additions to your holiday décor for years to come, each one telling its own special story.