In today’s hyper-connected world, a stable and reliable Wi-Fi connection is no longer a luxury, but a necessity. For desktop PC users, this often means facing the challenge of integrating wireless capabilities into their existing setup. Whether your motherboard lacks an onboard Wi-Fi module, or you’re looking to upgrade to a faster, more robust standard, installing a Wi-Fi card is a rewarding and achievable DIY project. This comprehensive guide will walk you through every step, from choosing the right card to troubleshooting potential issues, ensuring you can unlock the full potential of wireless connectivity for your desktop.
Why Install a Wi-Fi Card? The Benefits of Going Wireless
Before diving into the installation process, it’s important to understand the advantages of equipping your desktop PC with a Wi-Fi card. While Ethernet offers the fastest and most stable connection, Wi-Fi provides unparalleled flexibility and convenience.
- Freedom of Placement: No more being tethered to your router by an Ethernet cable. Position your PC anywhere within your home or office and still enjoy seamless internet access.
- Reduced Clutter: Eliminates the need for unsightly Ethernet cables snaking across your floor or desk.
- Easy Network Expansion: Quickly connect to new Wi-Fi networks as you move your PC or when guests visit.
- Modern Connectivity Standards: Newer Wi-Fi cards support the latest Wi-Fi standards like Wi-Fi 6 (802.11ax), offering significantly faster speeds, lower latency, and improved performance in congested environments. This is crucial for activities like online gaming, 4K video streaming, and large file downloads.
- Cost-Effectiveness: Compared to running long Ethernet cables through walls or dealing with powerline adapters in some scenarios, a Wi-Fi card can be a more economical solution.
Consider the case of a home office user who frequently moves their workstation. Without Wi-Fi, they’d be limited to areas near an Ethernet port. A Wi-Fi card grants them the freedom to work from different rooms, boosting productivity and comfort.
Choosing the Right Wi-Fi Card: Factors to Consider
The market offers a variety of Wi-Fi cards, each with different features and specifications. Making an informed choice will ensure you get the best performance for your needs.
Internal vs. External: Understanding the Form Factors
Wi-Fi cards for desktop PCs primarily come in two form factors:
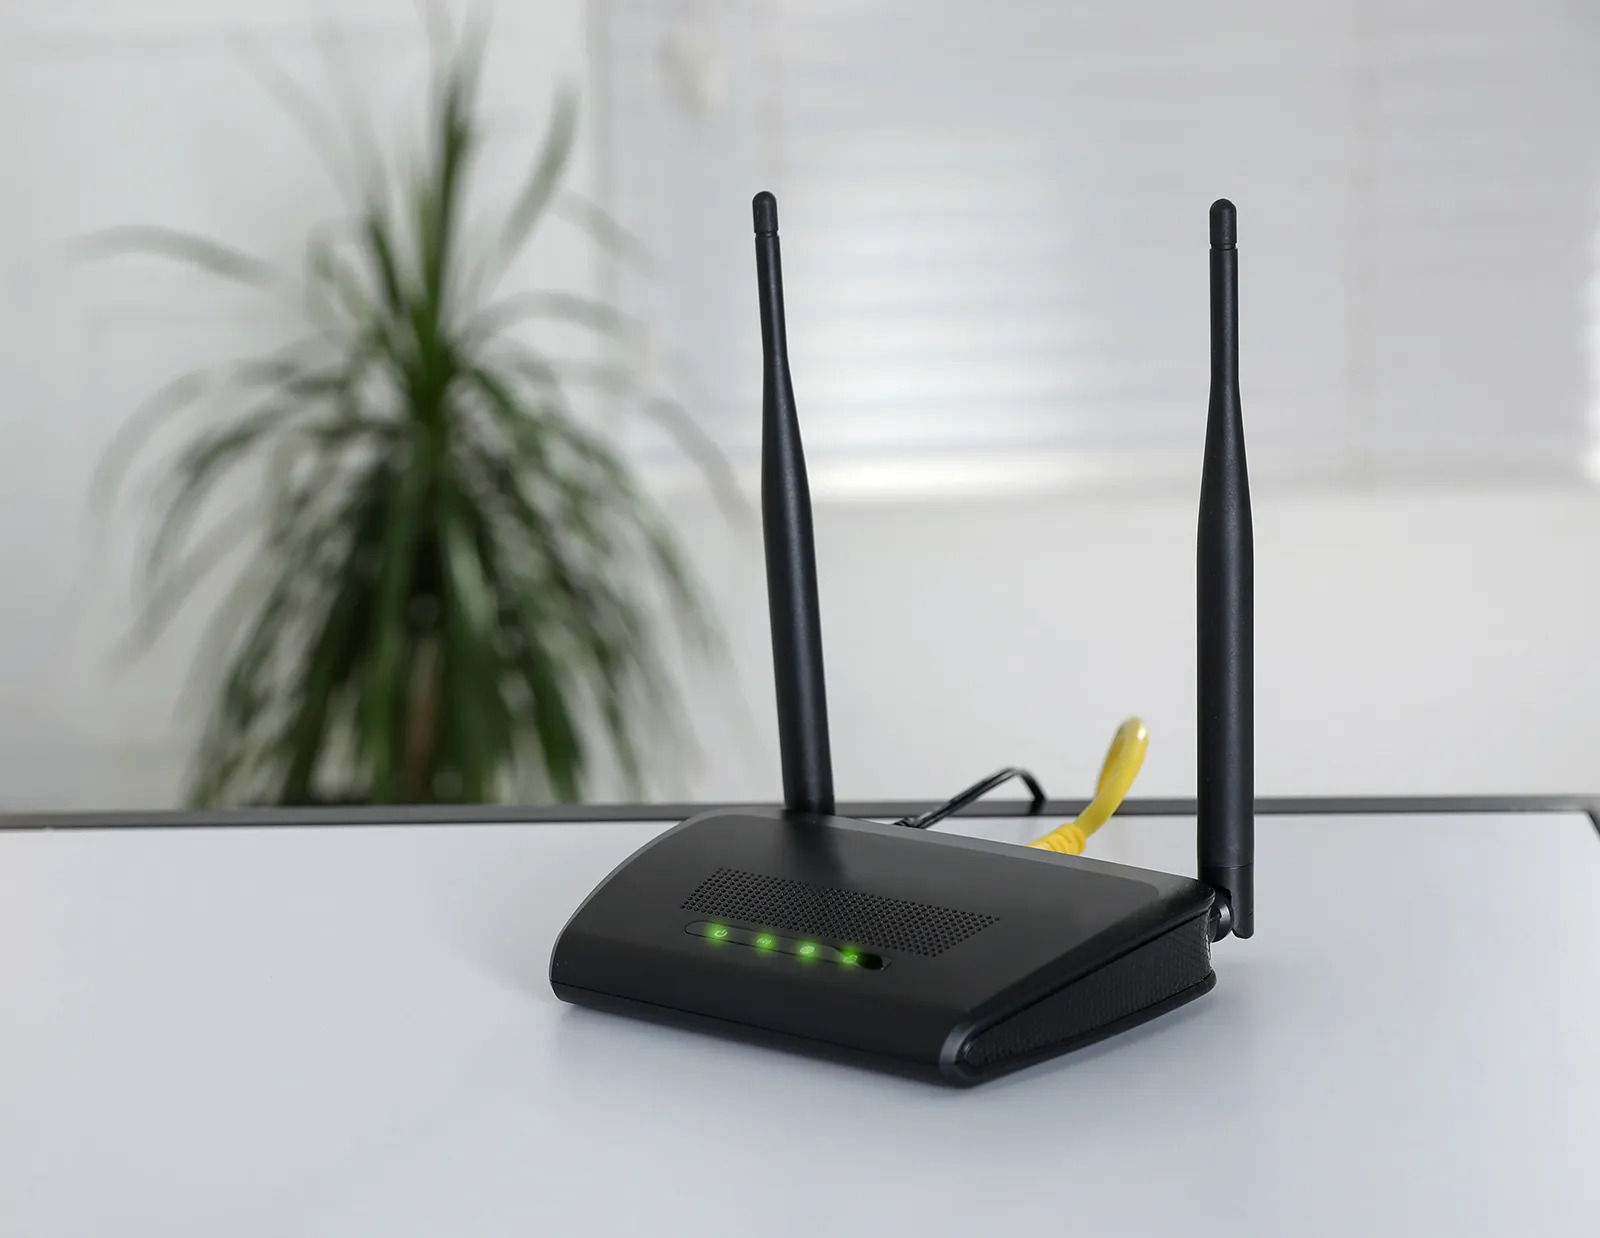
- PCIe (Peripheral Component Interconnect Express) Cards: These are internal cards that plug directly into a PCIe slot on your motherboard. They are generally considered the most performant and reliable option, offering dedicated bandwidth and often coming with external antennas for better signal reception.
- USB Wi-Fi Adapters: These are external devices that plug into a USB port on your computer. They are the easiest to install, requiring no opening of the PC case. However, their performance can be more variable, as they share USB bandwidth and their antennas are often smaller and less effective than those on PCIe cards.
For optimal performance, especially if you’re aiming for the latest Wi-Fi standards or have a large home, a PCIe card is the recommended choice. USB adapters are a good option for quick, hassle-free upgrades or for users who prioritize simplicity over maximum performance.
Wi-Fi Standards: Navigating the Latest Technologies

Wi-Fi standards have evolved significantly, with each iteration offering improvements in speed, efficiency, and capacity. Understanding these standards will help you future-proof your network.
- Wi-Fi 4 (802.11n): The older standard, still functional for basic browsing but significantly slower than newer options.
- Wi-Fi 5 (802.11ac): A substantial upgrade, offering gigabit speeds. It operates on the 5GHz band primarily, providing faster speeds but with a shorter range than 2.4GHz.
- Wi-Fi 6 (802.11ax): The current leading standard. It builds upon Wi-Fi 5 by improving efficiency in crowded networks, offering higher speeds, reduced latency, and better battery life for connected devices. Wi-Fi 6 also operates on both 2.4GHz and 5GHz bands.
- Wi-Fi 6E: An extension of Wi-Fi 6 that adds support for the 6GHz band, offering even more spectrum and potentially lower interference for devices that support it.
According to recent market analysis, Wi-Fi 6 adoption is rapidly increasing, with projections indicating it will dominate new device shipments within the next few years. Investing in a Wi-Fi 6 or 6E card now will ensure your PC is ready for the future of wireless networking.
Antenna Design and Placement
The antennas play a crucial role in signal strength and range. Many PCIe Wi-Fi cards come with external antennas that can be repositioned for optimal reception. Look for cards with adjustable antennas, and consider the number of antennas, as more antennas generally indicate higher potential throughput.
Bluetooth Integration
Many modern Wi-Fi cards also include integrated Bluetooth functionality. This is a convenient feature if you use wireless peripherals like headphones, mice, or keyboards, eliminating the need for a separate Bluetooth adapter.
Step-by-Step Installation Guide: Installing a PCIe Wi-Fi Card
This section details the installation process for a PCIe Wi-Fi card, which requires opening your PC’s case.
What You’ll Need:

- Your chosen PCIe Wi-Fi card
- A Phillips head screwdriver
- An anti-static wrist strap (recommended)
- Your PC’s motherboard manual (optional, but helpful)
- A well-lit and clean workspace
Step 1: Preparation and Safety Precautions
Before you begin, ensure your PC is powered off and unplugged from the wall. Ground yourself to prevent electrostatic discharge (ESD), which can damage sensitive components. Wearing an anti-static wrist strap connected to a grounded metal object (like your PC case) is highly recommended.
Step 2: Open Your PC Case

Most desktop PC cases have side panels that are secured with screws at the rear. Unscrew these and carefully slide or lift the panel off to expose the internal components. Refer to your PC case manual if you’re unsure.
Step 3: Locate a Suitable PCIe Slot
Inside your PC, you’ll see various expansion slots on the motherboard. PCIe slots are the longest ones. Wi-Fi cards typically use PCIe x1 slots, which are the shortest ones. However, they can also fit into larger PCIe x4, x8, or x16 slots, though it’s best to use the smallest appropriate slot for optimal airflow and to avoid blocking other components.
Example: On a typical ATX motherboard, you’ll find multiple PCIe slots. Look for a slot that isn’t occupied by your graphics card or other essential components. Your motherboard manual will usually label these slots and indicate their type.
Step 4: Remove the Slot Cover
Once you’ve identified a free PCIe slot, you’ll need to remove the metal bracket (slot cover) at the rear of the case that corresponds to that slot. These are usually held in place by a screw. Unscrew it and remove the cover.
Step 5: Insert the Wi-Fi Card
Carefully align the Wi-Fi card with the chosen PCIe slot. Apply gentle, even pressure to push the card straight down until it clicks into place. Ensure it’s fully seated.
Step 6: Secure the Wi-Fi Card
Reinstall the screw you removed in Step 4 to secure the Wi-Fi card’s bracket to the PC case. This prevents it from becoming dislodged.
Step 7: Connect the Antennas
Most PCIe Wi-Fi cards come with one or more external antennas that screw into ports on the card’s bracket. Screw them in finger-tight. Position them upright or at an angle that offers the best signal reception.
Step 8: Close Your PC Case
Carefully reattach the side panel of your PC case and secure it with its screws.
Step 9: Connect the Power Cable and Boot Up
Plug your PC back into the power outlet and turn it on.
Step-by-Step Installation Guide: Installing a USB Wi-Fi Adapter
Installing a USB Wi-Fi adapter is significantly simpler, requiring no opening of the PC case.
Step 1: Locate a Free USB Port
Find an available USB port on your PC. For optimal performance, it’s often recommended to use a USB 3.0 or higher port if your adapter supports it and your PC has one. These ports are usually colored blue.
Step 2: Plug in the USB Wi-Fi Adapter
![]()
Simply insert the USB Wi-Fi adapter into the chosen USB port. The computer should recognize the new hardware.
Step 3: Install Drivers (If Necessary)
Most modern operating systems (like Windows 10 and 11) have built-in drivers for many USB Wi-Fi adapters, and it might start working automatically. However, if it doesn’t, or if you want to ensure optimal performance, you’ll need to install the drivers. These usually come on a CD with the adapter, or you can download them from the manufacturer’s website.
Example: If your adapter doesn’t work immediately, you might see a notification in Windows asking to install drivers or search for them. Alternatively, go to your PC’s Device Manager, find the unknown device, and right-click to update the driver, pointing it to the driver files you downloaded.
Step 4: Connect to Your Wi-Fi Network
Once the drivers are installed, you should see your Wi-Fi network icon in the system tray. Click on it, select your network, and enter your Wi-Fi password.
Installing Drivers: The Crucial Post-Installation Step
Even if your Wi-Fi card appears to work out of the box, installing the latest drivers is crucial for optimal performance, stability, and security. Manufacturers regularly release driver updates that can:
- Improve Wi-Fi speeds and signal strength.
- Enhance network stability and reduce disconnections.
- Fix bugs and security vulnerabilities.
- Enable advanced features of the Wi-Fi card.
Where to Find Drivers:
- Manufacturer’s Website: This is the most reliable source. Visit the website of the Wi-Fi card manufacturer (e.g., Intel, TP-Link, ASUS, Gigabyte) and navigate to their support or downloads section. Search for your specific Wi-Fi card model and download the latest drivers for your operating system.
- Included CD/DVD: Some cards come with a disc containing drivers. However, these are often outdated, so checking the manufacturer’s website is still recommended.
- Windows Update: Sometimes, Windows Update can automatically detect and install appropriate drivers, but manual installation from the manufacturer’s site often provides the most up-to-date version.
Installing the Drivers:

Once you’ve downloaded the driver package, it’s usually an executable file (e.g., `.exe`). Double-click the file and follow the on-screen instructions. The installer will typically guide you through the process, which may involve a system restart.
Case Study: A user installed a new Wi-Fi 6 card but was only getting speeds comparable to their old Wi-Fi 5 card. After researching online, they discovered that the initial drivers provided by Windows were generic. Downloading and installing the latest drivers directly from the manufacturer’s website resulted in a significant boost in Wi-Fi speeds, reaching the expected performance levels of Wi-Fi 6.
Troubleshooting Common Issues
While the installation process is generally straightforward, you might encounter a few hiccups. Here are some common problems and their solutions:
- Wi-Fi Adapter Not Recognized:
- Ensure the card is properly seated in the PCIe slot (for internal cards).
- Try a different PCIe slot.
- Verify that the necessary drivers are installed. Reinstall them if needed.
- For USB adapters, try a different USB port.
- No Wi-Fi Networks Visible:
- Check if the Wi-Fi adapter is enabled in your system’s network settings.
- Ensure the antennas are securely attached and properly positioned.
- Restart your router and modem.
- Try temporarily disabling your firewall to see if it’s interfering.
- Slow Wi-Fi Speeds:
- Ensure you are connected to the 5GHz band if your adapter and router support it, as it offers higher speeds.
- Update your Wi-Fi card drivers and your router’s firmware.
- Reduce the distance between your PC and the router.
- Check for interference from other wireless devices or microwave ovens.
- Consider using a Wi-Fi analyzer app to find less congested channels on your router.
- Frequent Disconnections:
- Update drivers and router firmware.
- Check antenna placement and ensure they are not obstructed.
- Try changing the Wi-Fi channel on your router.
- If using a PCIe card, ensure it’s not overheating. Ensure good airflow within your PC case.
Statistic: According to a study by network equipment manufacturers, outdated drivers are a leading cause of Wi-Fi performance issues, affecting an estimated 30% of users experiencing slow speeds or disconnections.
Embracing a Connected Future
Installing a Wi-Fi card on your desktop PC is a straightforward process that can significantly enhance your computing experience. By following these step-by-step instructions, understanding the different types of cards, and ensuring you have the latest drivers, you can unlock the full potential of wireless connectivity. Whether you’re a gamer seeking low latency, a streamer demanding high bandwidth, or simply a user who values the convenience of a cable-free environment, investing in a quality Wi-Fi card and performing a successful installation will pay dividends in speed, stability, and overall digital freedom. So, don’t let a wired connection hold you back – embrace the wireless revolution and enjoy a truly connected desktop experience.